Passion for music is usually expressed by performing, but it can also be expressed through the process of creating, composing, and producing your own music. Luckily, anybody can conveniently set up a recording studio in the comforts of their own home. However, with the overwhelming number of home recording studio equipment available on the market, it can be confusing to figure out which ones to get.
For a music enthusiast, whether an aspiring or professional singer, passionate musician, music producer, or songwriter, there is always one defining element for studio equipment—and that is sound quality. This is essential in creating good music, and it need not be compromised even if you are creating music at home. Setting up a professional (or semi-professional) home recording studio at home with good quality and functionality is relatively easy, as long as you have the right tools (and the budget) to build it.
Here is a list of things needed to make your home a recording studio.
- Computer
- Digital Audio Workstation (DAW)
- Audio Interface
- Microphone & its accessories
- Studio Monitors
- Studio Headphones
- Professional Audio Cables
- MIDI Controller
- Uninterruptible Power Supply ( UPS)
- Sound Treatment
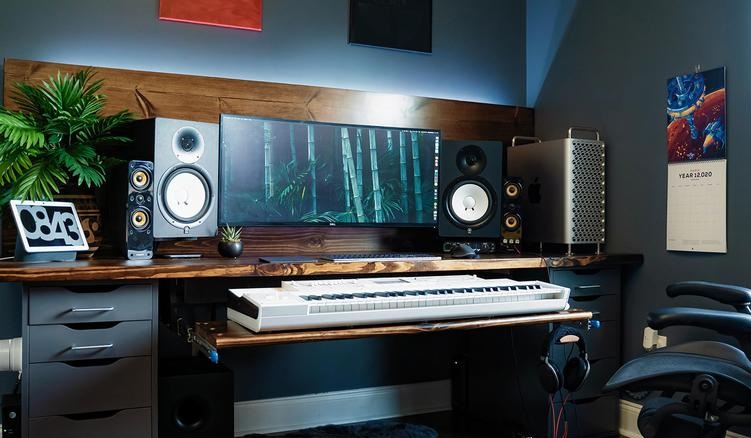
1. A Computer

The computer is the heart would be the heart of your home recording studio. In this era, it would be tough to get anything to work without a computer. The computer may be a Laptop or PC. It can be based on Windows or Mac.
If you own a powerful computer, then you have crossed out one essential equipment from this list. If you are looking to buy a computer or laptop for music production, then you should buy one that can handle your DAW (next requirement) since they require a lot of processing power.
Most computers can run a number of recording programs out there. Technology is changing every day and a good computer today might not hold up in the future. Decide your Operating System whether you going to choose Windows or Mac. Either of them have their own Pro’s & Con’s. However, before getting yourself a new computer, always consult the manufacturer’s website and check the minimum requirements needed to run a recording program you will have selected. Other than that, if you are on a tight budget, always get as much RAM, a good SSD Hard Disk and high processing power you can afford.
2. Digital Audio Workstation (DAW)
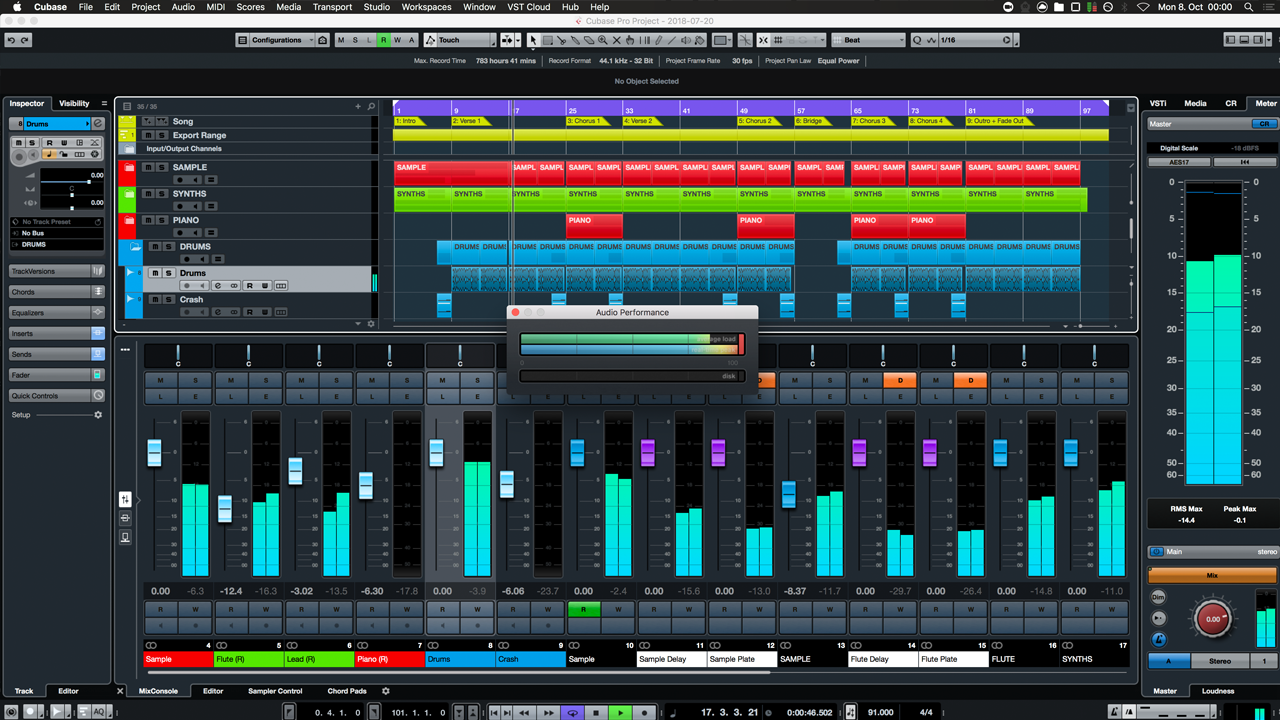
A digital audio workstation is the program you will be using to record, edit, mix and master your music. There are different types of DAWs out there, and all come with their strengths and weaknesses.
However, choosing the DAW software of your choice will depend on your computer specifications, your budget, and style of music and work. Before deciding your digital audio workstation, make sure it can run on your computer without problems.
Some of the Professional best DAWs are Avid Pro Tools(Mac, Windows), Apple Logic Pro X(Mac),Steinberg Cubase (Mac, Windows), Ableton live (Mac,Windows), Presonus Studio One (Mac, Windows), MAGIX Samplitude(Mac, Windows), Propellerhead Reason (Mac, Windows), MOTU Digital Performer (Mac, Windows), Cockos Reaper (Mac, Windows, Linux).
Which DAW Softwares u prefer to learn ??
3. Audio Interface
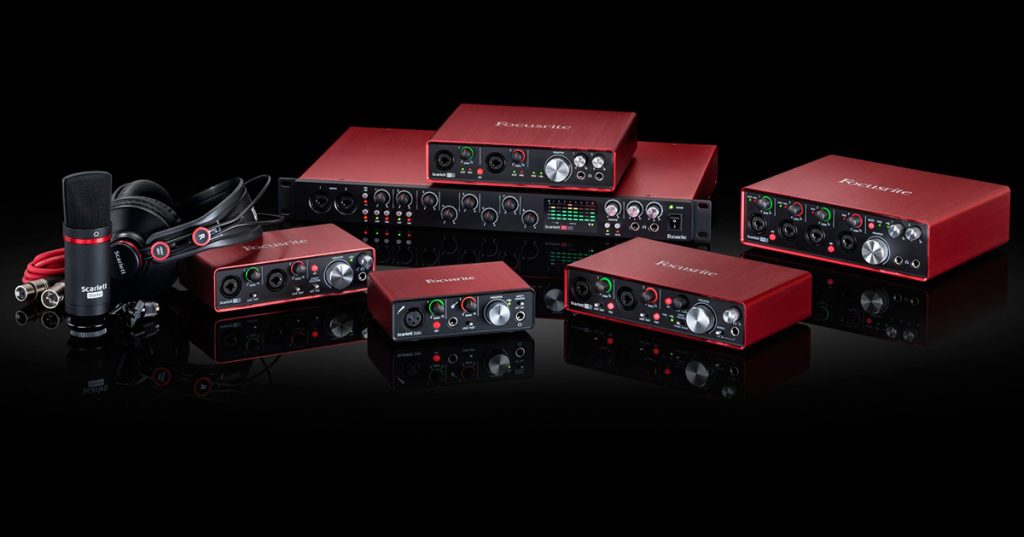 Once you’ve got the Digital Audio Workstation software up and running, you’ll need one more important part of your studio: the audio interface. Also called as Soundcard. The primary role of your audio interface is to convert you analog signals to digital signals for recording, and convert back the digital signals to analog signals for playback, i.e, to provide multiple connections for sending your music into your computer for recording and out again for mixing and playback.
Modern audio interfaces, have incorporated microphone preamps, headphone amps, direct box for balancing mic level signals, and even monitor management systems, so you can save space and don’t have to buy them separately for your home studio. However, if you wish to upgrade to a more professional studio that has to accommodate more channels, more artists, and more amps, you can choose to buy separate stand-alone units or a mixer console.
4. Microphone and its accessories
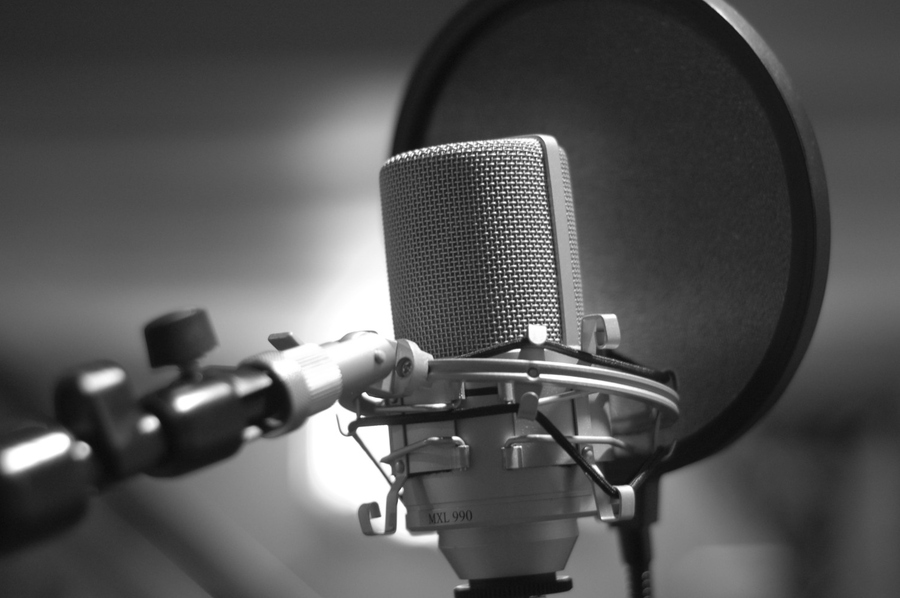
Microphone is like a color that a painter chooses from this color palette in order to sketch. Similarly a microphone is needed to record different sources in your home studio such as voices or different music instruments.
On a general classification there are two variety of microphones based on the technology. Dynamic and Condenser.
Dynamic microphones are good when it comes to recording live sound setting or when recording high SPL instruments like guitars and drums. They are very robust and durable, can be relatively inexpensive.
Condenser mics are good at recording vocals. They are powered via phantom power marked +48V, so you will need t make sure your audio interface has a phantom power supply.
Condenser mics are more sensitive than dynamic mics and will tend to get more details. Condensers can further be broken down into large-diaphragm and small-diaphragm condenser mics. Small-diaphragm condenser mics are useful for recording drum overheads and various instruments.
If you are just getting started, a good large-diaphragm condenser mic would be more advantageous. You can then add a dynamic and later a small-diaphragm condenser mic as you upgrade your home studio.
Apart from the microphone, you will also need a microphone stand and a Pop Filter (voice recordings). Get a compatible mic stand to hold your microphone & serve the purpose of positioning the direction it is intended to pick up the sound. Microphone stands come in different shapes and sizes with each designed for a specific task.
A pop filter is a net-like material placed between the singer’s mouth and the recording microphone. A pop filter works by catching the plosives or blasts of air caused when a singer pronounces “p” or “b” sounds before they hit the diaphragm of the microphone.
However, pop filters are not used with all types of microphones. They are mainly used on ribbon and condenser mics because of their high sensitivity levels. With dynamic microphones, you can either choose to have pop filter or you may not require it.
5. Studio Monitors
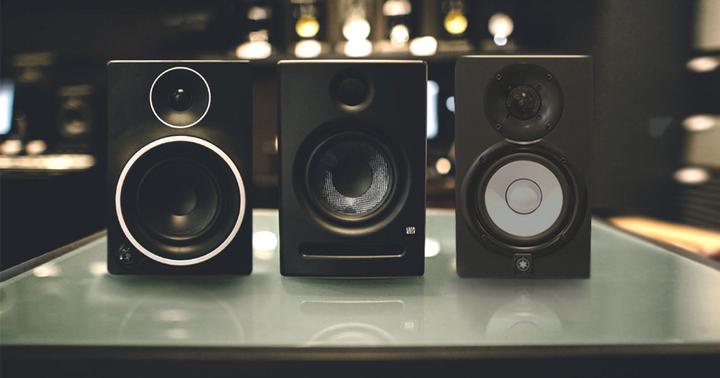
In the pro audio world the speakers are referred to as studio monitors or nearfield monitors. Compared to the typical home speakers that will accentuate different frequencies, studio monitors are designed to provide flat frequency response. Meaning they do not cut or boost certain frequencies.
Studio monitors are one of the essential pieces of equipment in a studio setup. If you end up getting a set of cheap speakers that affect the sound in any way, you may end up with a mix that sounds only good on your speakers but not anywhere else.
Invest a decent amount of money to get good monitors. But, I would never recommend you to get computer speakers over studio monitors. Any studio monitor would be better than a set of computer speakers.
Other than the price of a studio monitor, there are also other aspects such as the shape or the size of the monitors you need to consider. A bigger studio monitor will reproduce the low frequencies better than a small one.
6. Studio Headphones
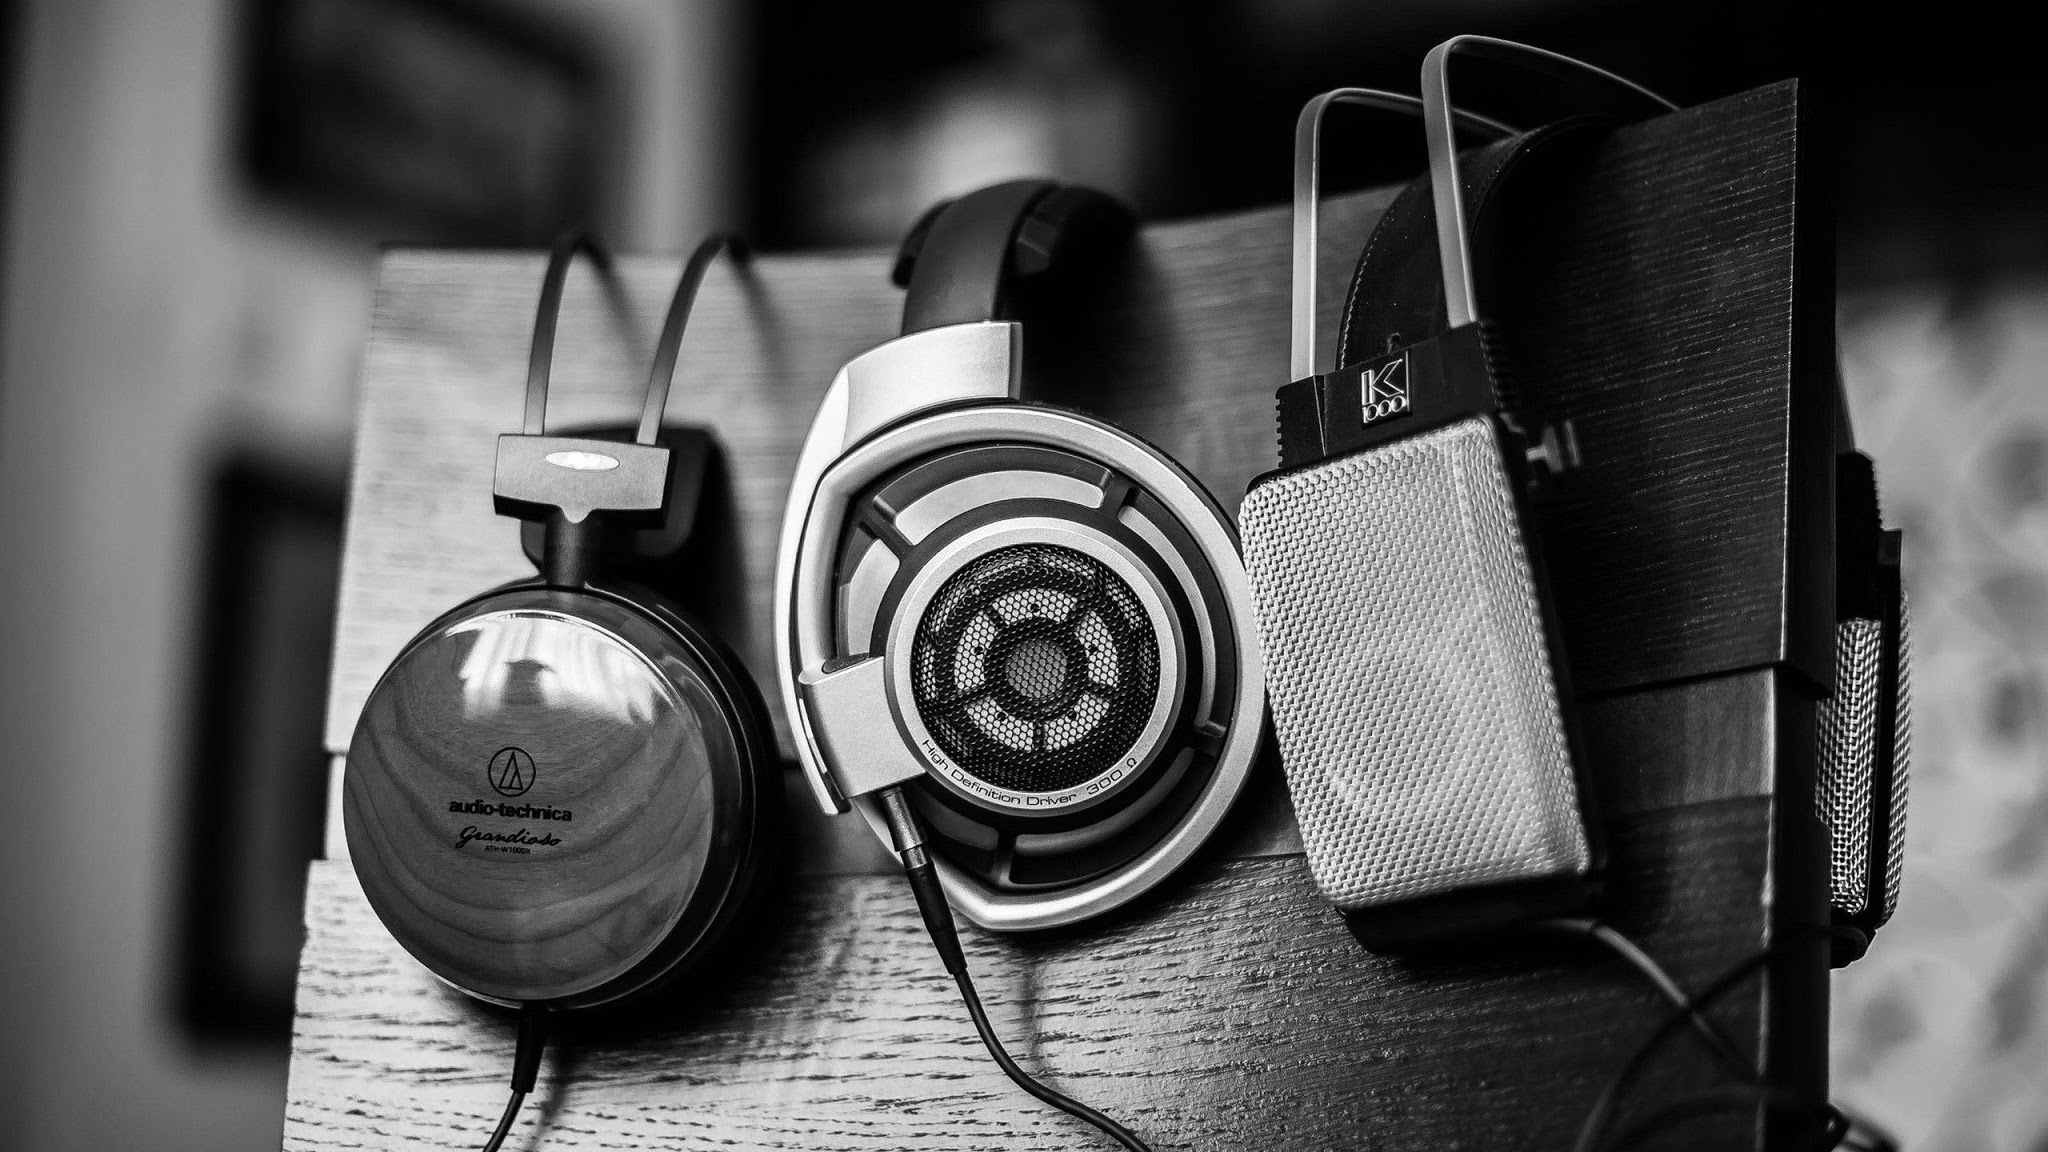
Just like studio monitors, there are a special type of headphone for use in the studio. Whether you are recording or editing, studio headphones are invaluable equipment for your home studio.
Studio monitors and studio headphones work in the same way, i.e. they give you a balanced sound signature without enhancing any details of a recording. A regular headphone will not be of any help in a studio setting. You can use a regular result to hear how you recording sounds but never use it for mixing or editing.
There are types of headphones you can get for your home studio, open-back, semi-open, and closed-back headphones.
Closed back headphones are good to use when recording because they are designed to keep the sound from bleeding and being picked by the microphone.
Open-Back headphones are good to use when mixing, critical listening, and referencing because they have a flatter frequency response and give out natural sound response.
Other than the design of the headphone, a studio headphone should also be comfortable and light to be worn for long studio sessions without getting fatigued.
7. Professional Audio Cables
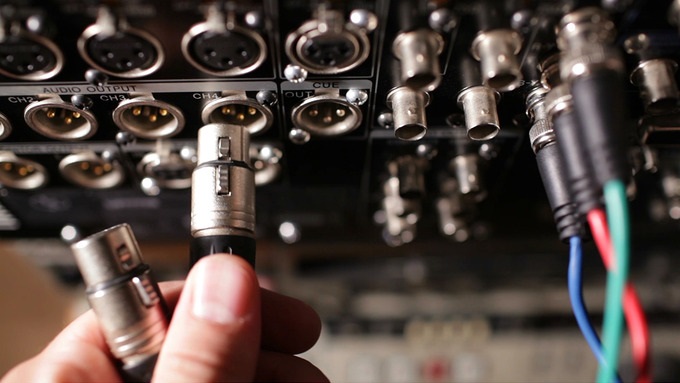
In a studio setup, you are likely to find many cables with different connectors. Cables are useful because they will help to piece home recording studio equipment together. At the start of your home studio setup, you should not compromise and get yourself cheap cables. With every piece in your setup connected with a cable, focusing on good quality ones is important.
A good quality cable does not have to cost you a thousand dollars. Cheap cables will not only require a replacement, but they will also get interference from noise by external and internal sources. The result is usually a hum, hiss, snaps, buzz, crackle, or popping sounds. Other than passing the audio signal to and from your studio equipment, a quality cable should not have its sound.
A balanced cable cancels out noise by having a positive signal and an inverted version of the signal. Unbalanced cables only carry the positive signal. Thus they can allow unwanted noise to be introduced to the signal transmitted.
Apart from getting a quality cable, there are also different connectors that are either male or female of each type. The main three connectors are XLR short for Cannon’s X-Series Latching Rubber or “ External Line Return”, TRS short for Tip/Ring/Sleeve and TS short for Tip/Sleeve.
8. MIDI Controllers
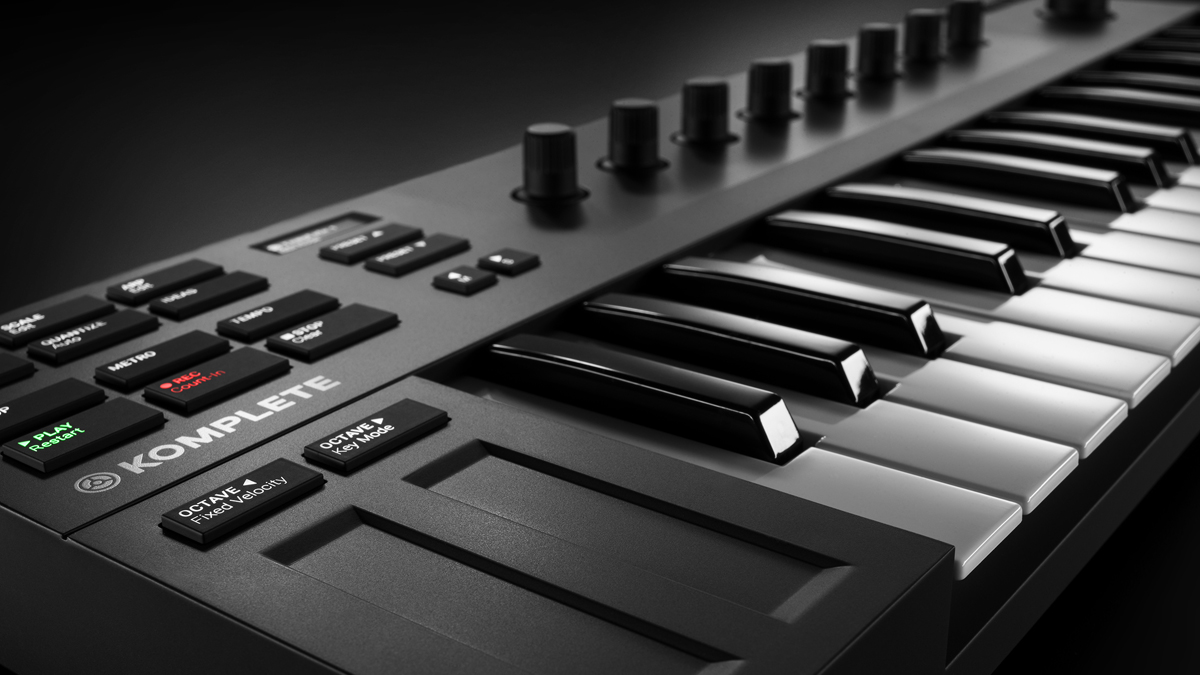
When it comes to producing music, relying on real instruments to help you finish a project isn’t always applicable to everyone. There are some people who own and can play real instruments but there are also others who don’t. This is where a MIDI controller becomes essential. MIDI stands for Music Instrument Digital Interface.
While music production is constantly evolving, more and more people are using virtual instruments that sound as realistic as they should be. A MIDI controller enables you to play virtual instruments using keys and pads, while adding musical expressions with the use of effect knobs, pitch bend wheels and other controls.
So how do you know which one to buy?
If you’re a piano player who wants to be able to play without limitation, you can buy a controller with 61 keys. On the other hand, a 25-key controller is perfect for someone who is just starting out, which can later on be upgraded to 49 keys if you want more flexibility without breaking the buck.
9. Uninterruptible Power Supply ( UPS )
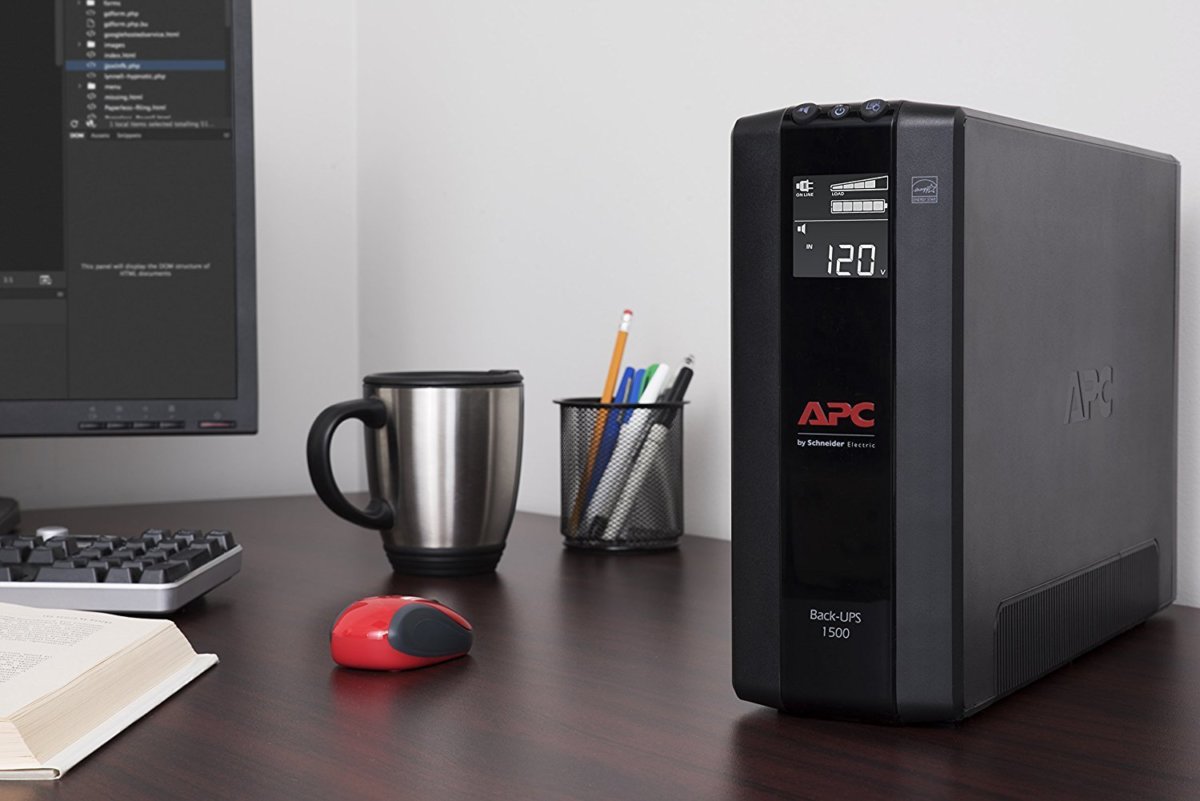
Even if you were working with a laptop that has a rechargeable battery, you’d still be working with devices that need continuous power. This is where a UPS comes in. The need for a UPS is further increased when you’re using a desktop for your recording needs, more so while you’re recording as you simply cannot risk losing any of your work.
There are a little high end UPS which serves as your backup battery and offers a few minutes of power that is just long enough for you to save your progress in case of a blackout. There are also more expensive, non-standby, online or line-interactive UPS models that deliver clean and stable power even during blackouts. It’s definitely a worthy investment, if you’re wishing for some sort of “insurance” for your work.
10. Sound Treatment
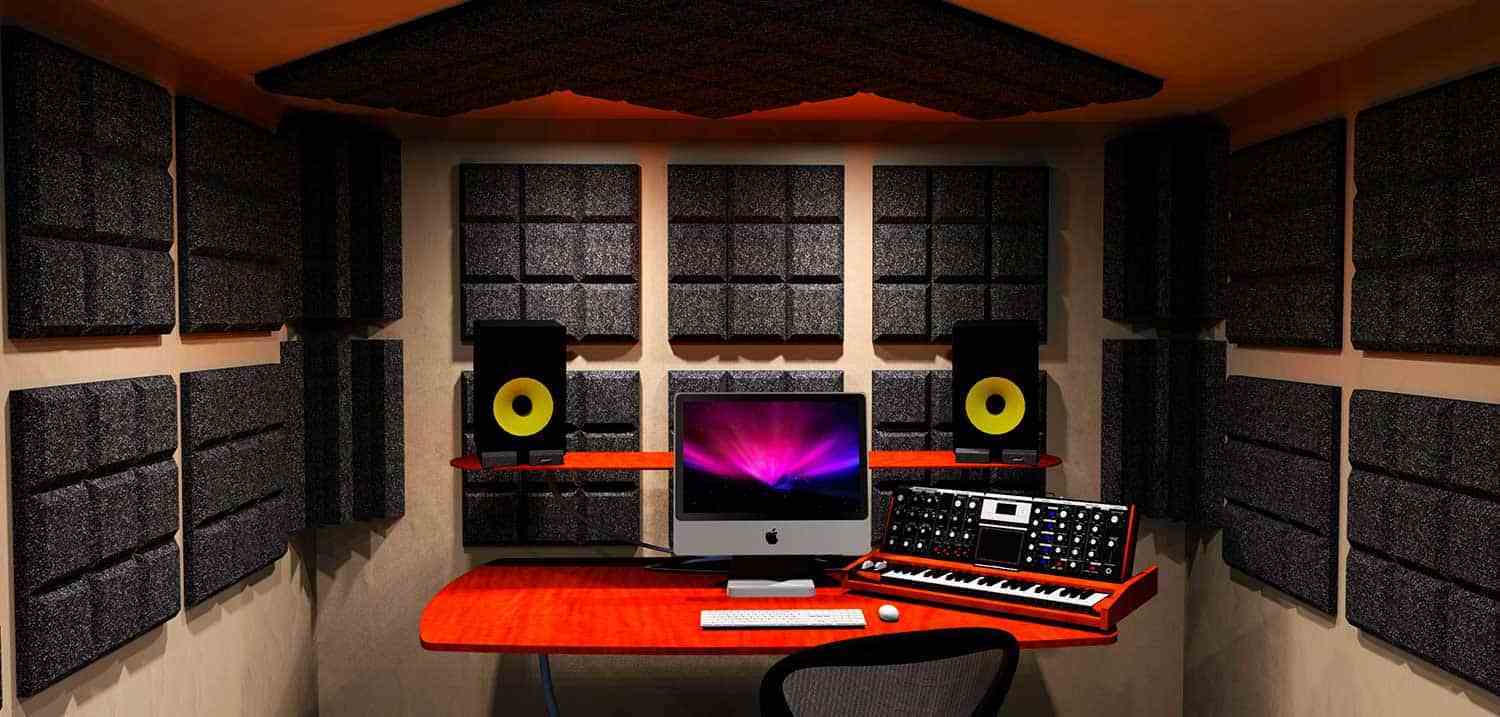
Acoustic treatment or soundproofing a home studio is one of the important components you can do for your home recording studio. Usually, most people will neglect this area and would rather upgrade to a new mic.
If you are looking to set up your home studio in a spare bedroom or office space, most likely the area might not be conducive for recording or mixing music. A room that is not properly acoustically treated will affect the way you hear the sound even if you are using accurate monitors.
There are various ways you can work on to address the acoustics of a room. Completely sound treating a home studio can get expensive. However, even a few minor changes like fixing foam panels can cause drastic improvements. Applying foam or buying a set of bass traps can also be beneficial if you are on a budget.
You can also get creative and use mattresses or blankets — anything that will absorb even the tiniest of sound and prevent reflections.
Conclusion
Now that you have an idea of the essential pieces of equipment to buy in order to put up a home studio, you can go ahead and do more research on brand and product reviews. This will help a lot in terms of choosing the right products and spending your money wisely.
To learn more about Sound Engineering Courses and Music Production Courses visit us https://www.soundpointpro.com/index.php